
Most of us use a calendar system to remember key events such as meetings and birthdays. Whether you prefer an interactive online system or a classic paper planner, having visual reminders of what is coming up helps ensure nothing slips through the cracks. Developing a project schedule expands on these calendar ideas by creating a structured project timeline from beginning to end.
While implementing a timeline sounds pretty straightforward, the options may feel overwhelming once you start researching. In this article, I will explain the steps to create a simple project timeline and explore its purpose.
Key Points
- A project timeline is a visual list of tasks or activities placed in chronological order, which lets project managers view the entirety of the project plan in one place.
- Types of project timelines include the Kanban timeline, Gantt chart, critical path method, and historical timeline.
- Core elements of a timeline include tasks to be completed, their start and end dates, the duration of each task, and task dependencies.
- Product development and construction timelines illustrate the adaptability of project timelines across industries.
What Is a Project Timeline?
A project timeline is a visual list of tasks or activities placed in chronological order, which lets project managers view the entirety of the project plan in one place. It typically takes the form of a horizontal bar chart, where each task is given a name and a corresponding start and end date.
A project timetable offers a thorough rundown of the entire project from beginning to end. Notably, you can see whether an activity depends on another task and when it begins and ends.
A project timeline can be priceless for a project team, but it can be challenging to make by hand or even in Excel. Fortunately, project planning software can create an interactive timeline in just a few clicks.
Elements of a Project Timeline
You must include several critical features in your visual tool when creating and managing an effective project timeline. You can add extra elements based on your project’s unique needs, but the following are part of every project timeline:
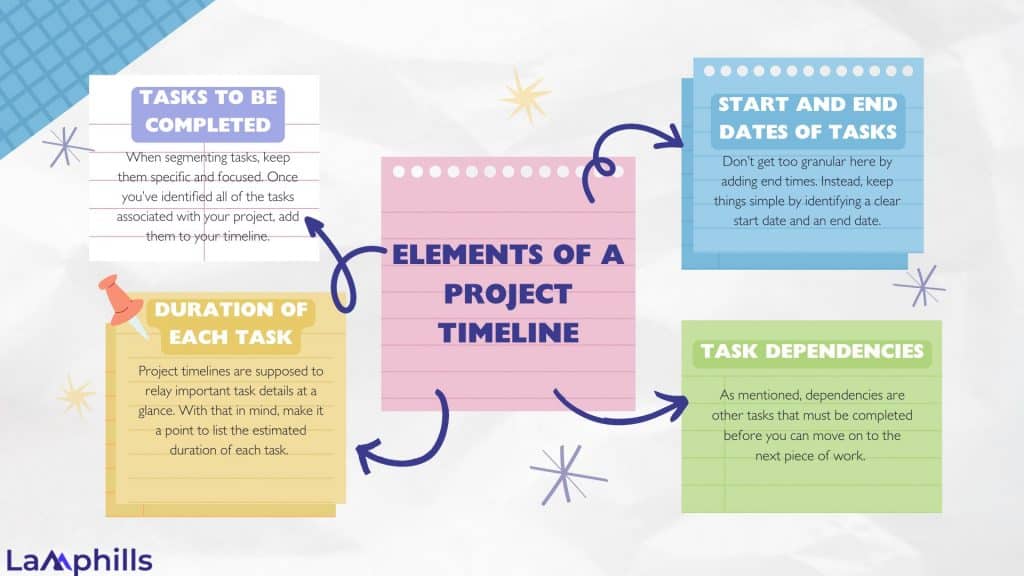
#1. Tasks to Be Completed
When segmenting tasks, keep them specific and focused. Once you’ve identified all of the tasks associated with your project, add them to your timeline. Make sure you keep each task title concise. There’s no need to explain a task’s scope extensively on your timeline—doing so wastes time and complicates the chart.
#2. Start and End Dates of Tasks
Don’t get too granular here by adding end times. Instead, keep things simple by identifying a clear start date and an end date. While you mustn’t be overly ambitious with your start and end days, you want to choose time frames that are bold enough to create a sense of urgency for your team.
#3. Duration of Each Task
Project timelines are supposed to relay important task details at a glance. With that in mind, make it a point to list the estimated duration of each task. For instance, one task may have a projected duration of three days. A more involved one may take nine days to complete.
#4. Task Dependencies
Dependencies are other tasks that must be completed before you can move on to the next piece of work. Early in your project, most tasks will have few, if any, dependencies. But as you progress, most end-of-cycle tasks will have one or more dependencies.
In addition, to make your project timeline more intricate, you can include more elements in your chart. For example, you can provide the number of team members who will be working on each job. However, some project managers choose not to overly specify their deadlines because this can confuse decision-making procedures and result in information overload.
Start building your project timeline using the four core elements outlined above. Once it’s almost finished, go back and check that it communicates all the necessary information to help you with project management.
If more information is needed, add it to your chart to make it more easily understood at a glance and in line with your business requirements.
Types of Project Timelines
Project timelines are varied, just like projects. This variation is because every project is unique, and the best timeline type is determined by team size, industry, scope, and complexity. This variety guarantees that each project can have a schedule customized to meet its unique requirements.
Choosing the right type of project timeline is an important step in project management. The key is to assess the project’s requirements and consider factors like:
- Project duration
- Level of detail needed
- Team’s working style
For example, a Gantt chart could be useful for projects that need frequent deadline monitoring, but a Kanban timeline might be better suited for projects that value flexibility. The availability of project timeline software and tools is also important for compatibility and convenience.
Knowing you’ve selected the right type of timeline often comes down to its effectiveness in project execution. A suitable timeline will streamline the planning process, facilitate clear communication among team members, and provide a realistic overview of the project’s progress.
If the timeline allows for easy identification of bottlenecks, supports effective time management, and aligns with the team’s workflow, it’s likely a good fit for the project.
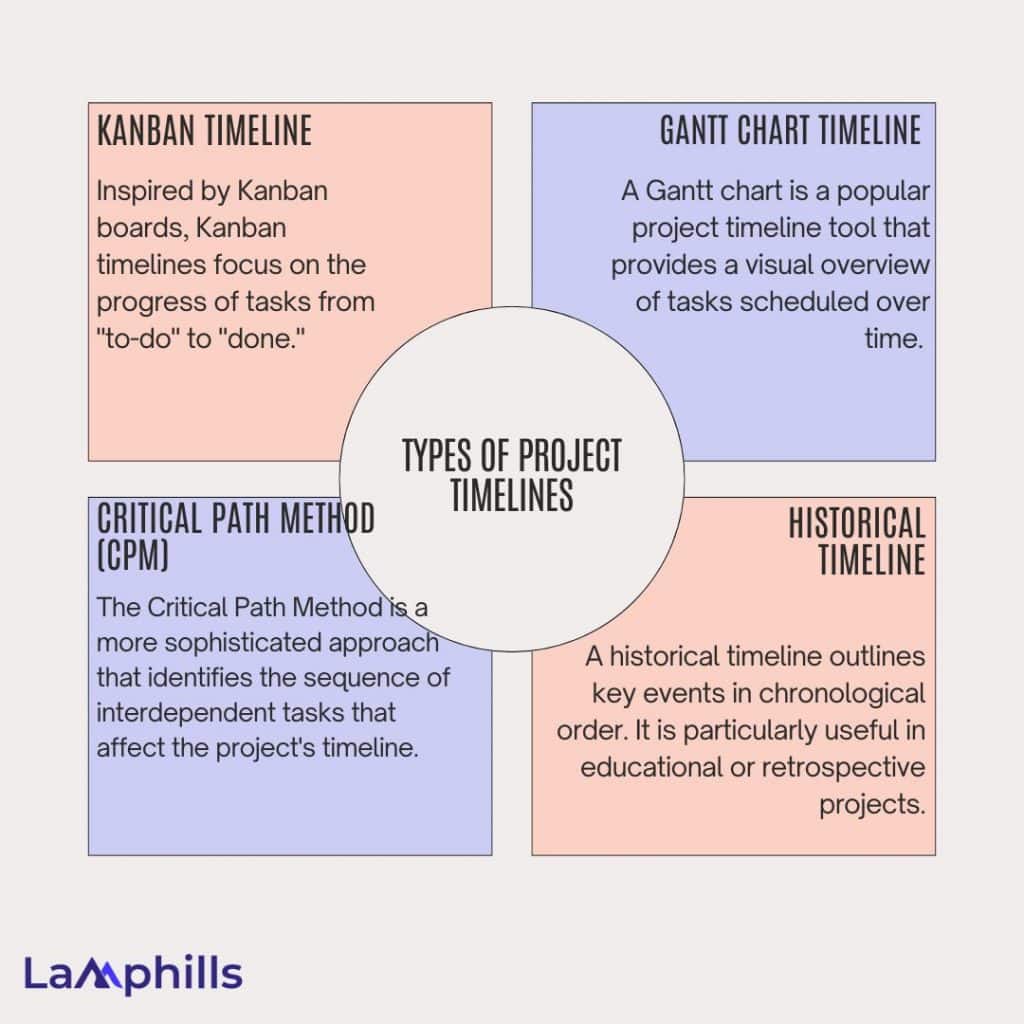
#1. Kanban Timeline
Inspired by Kanban boards, Kanban timelines focus on the progress of tasks from “to-do” to “done.” They’re excellent for teams emphasizing teamwork and agile methodologies, where tasks move through different stages.
For example, software development teams often use a Kanban board to track the progress of features from conception to implementation.
Read also: KANBAN PROJECT MANAGEMENT TOOLS: 22 Best Kanban Management Tools, Benefits, and Specifics
#2. Gantt Chart Timeline
A Gantt chart is a popular project timeline tool that provides a visual overview of tasks scheduled over time. It helps teams see project phases’ start and end dates, helping with time management and identifying potential bottlenecks.
For example, a Gantt chart can outline stages such as design, procurement, and construction to manage deadlines and identify potential delays in a construction project.
#3. Critical Path Method (CPM)
The Critical Path Method is a more sophisticated approach that identifies the sequence of interdependent tasks that affect the project’s timeline. It’s pivotal in complex projects where time tracking and precise planning are key.
For instance, in a big manufacturing project, CPM can identify and track important steps like design, production, and quality control to ensure the job is finished on time.
#4. Historical Timeline
A historical timeline outlines key events in chronological order. It is particularly useful in educational or retrospective projects. This format can help streamline the visualization of project phases when dealing with complex projects.
A historical timeline, for instance, could help with the educational component of a museum exhibit project by listing important historical events or eras in chronological order.
What Are the Stages of the Project Timeline?
How to Create a Project Timeline
Creating a project timeline is a systematic process that provides the groundwork for a project’s effective completion. The first step is to define the project’s goals and scope.
A good project timeline shows tasks chronologically and includes important components like milestones, resource allocation, and task dependencies.
This is when the timeline’s functionality is useful. It should make tracking and updating simple and offer a clear visual depiction of the project’s flow. The timeline should be thorough and adaptable to accommodate changes and keep the project moving forward. Here are a few simple steps to create one.
#1. Define and Understand the Project Scope
Imagine you’re asked to make a peanut butter and jelly sandwich. Initially, it might seem like a quick task. However, if you then specified that you wanted it on homemade bread from a specific recipe, with a unique jelly only available from a particular farmer’s market open on Sunday mornings, and requested that the crust be removed, the sandwich would be cut into a star shape; suddenly, the process would become more complex and time-consuming.
This example emphasizes how crucial it is to comprehend a project’s scope. The tasks, time, and resources required to finish the project are all included in the scope. When all criteria are established early on, scope creep—the enlargement of project requirements beyond the original agreement—may be proactively addressed, and a more realistic timeline can be produced.
To define your scope, you’ll figure out your project’s:
- Goals: What will your project accomplish?
- OKRs: How will you measure the success of your project?
- Deliverables: What is the output of your project?
- Tasks and activities: What steps must you take to produce those deliverables?
- Exclusions: What won’t you complete as part of this project?
- Constraints: What limitations are you working with?
After obtaining this information, you can combine it into a statement of the project’s scope. This statement will serve as a reference for you and your team throughout the project, enabling you to focus on the essential aspects while setting aside anything that falls outside the scope.
#2. Break Your Project Down Into Smaller Sections
Once you know what you need to do to succeed, it’s time to examine all the necessary operations, their scope, and the milestones that mark their progress.
First, divide the project into stages, marking the significant developments. For each stage, select a milestone showing the exact goal you must achieve for the project to proceed. Don’t forget to determine the task dependencies and dates if they are critical for the tasks!
From there, split the stages into small, manageable tasks and arrange them chronologically. Once again, include task dependencies when necessary. We highly recommend using project management software for that step—it makes the work much easier.
After doing that, you will have a draft version of the project timeline.
#3. Assign Time Estimates to Each Task
You’ve outlined your deliverables and their associated tasks, but we haven’t discussed time yet, so we’re not quite at the stage of creating a timeline. In this step, you’ll estimate the time required to complete each task. Review the tasks outlined under each deliverable and estimate the time needed for each one.
It’s crucial to involve your project team in this process, as they’ll have a more realistic understanding of how long their assigned tasks typically take. This collaboration helps guard against the planning fallacy, which suggests that people tend to underestimate the time required for tasks. Your team can provide valuable insights and act as a reality check to ensure your time estimates are accurate.
#4. Define Task Dependencies
When you begin assigning tasks, many will likely allow for simultaneous work, keeping each team member independently busy. Inevitably, though, the project will reach a point where the completion of some steps depends upon the completion of others.
Mapping out potential dependencies before any work begins will save you time in the long run. This will allow adequate completion time for each step and help avoid backlogs. You’ll also want to give team members a heads-up if someone will be waiting on them to complete a task so that they can plan their schedule accordingly.
#5. Make Note of Milestones
Now that your task time estimates and dependencies have been determined, you’ll want to have a system in place to monitor progress. Establishing milestones at the beginning or end of each step allows team members to evaluate the phases of a project. Milestones can be dates, events, or specific deliverables—anything that offers a concrete way to track progress.
These milestones serve as important checkpoints, particularly if you are working on a project with several different phases. They are not deadlines but rather small victories that signal progress and progress toward the end goal.
#6. Build the Project Timeline
The final step in creating a project timeline is to build it officially. This is the part where you can choose to utilize one of the project management platforms, use a premade template, or create a simple shared spreadsheet. What you decide should ultimately come down to choosing the best method for both your project and your team.
Start by selecting a timeframe—days, weeks, months, or however long you have determined the project will take to complete. Then, add tasks and steps based on their priority, time estimates, and dependencies.
Next, mark the milestones that will allow the project’s progress to be tracked. There is no set number for how many a project should have, but avoid including too many because they are designed to serve as big-picture views.
Now that you understand the steps in creating a project timeline, you can start with our project timeline template below
Lamphills Project Timeline Template
Why Are Project Timelines Important?
Project timelines provide your team with a plan of action, increase accountability, and assist you in avoiding obstacles. These are just a few of the benefits that a timeline can offer; more advantages include:
#1. Providing a High-Level Overview of the Project to All Parties
When you’re working diligently on a project, it’s easy to get bogged down in the details. A project timeline gives teams a wider perspective, enabling them to zoom out and observe the various steps that are taking place at different times. It enables students to understand the context of their components and how they fit together. Before your project begins, you can also proactively identify requirements or potential obstacles.
#2. Managing Your Resources More Effectively
Your project will need resources like equipment, budget, and time from team members. Projects would be a dream if everything were available for you right when you needed it, but you aren’t carrying out this plan in a vacuum.
Knowing when specific tasks happen helps you allocate and manage your project resources more effectively. So, if you know that your company’s graphic designer won’t be able to pitch in with your website redesign until the end of the month, you can plan accordingly.
#3. Keeping Projects on Track
Creating a project timeline enables teams to maintain focus and stay on track. Breaking down projects into smaller components makes identifying inconsistencies and tracking progress easier. If one task misses its deadline, you’ll know the whole project could fall behind. It enhances accountability within your team by providing transparency regarding each member’s responsibilities and deadlines.
Project Timeline Examples
Project timelines are adaptable tools that can be used by many different industries. Let’s examine three project timeline examples and use cases to demonstrate their adaptability.
#1. Product Development
Developing a winning product is a time-consuming and laborious process. To adequately prepare for the various stumbling blocks you’ll no doubt encounter along the product development journey; you need a concrete strategy and a clear, easy-to-follow task list.
Creating a project timeline for your product development initiative accomplishes several things. First and foremost, it demonstrates to stakeholders that you have a great idea and a plan for bringing your product concept to fruition.
Additionally, your project timeline conveys essential product development milestones to your team members so they know what tasks they must complete to succeed. Since product development tasks typically depend on completing subsequent work sets, you should use a chart to visualize task dependencies.
#2. Construction
Construction projects are complex because they involve many subtasks. For instance, a commercial building requires several types of supporting infrastructure to function, including electrical, HVAC, and plumbing systems. Typically, contractors will work on these tasks simultaneously, resulting in much overlap on the project timeline.
Timeline tools designed for this industry must be robust and sophisticated to accommodate the extensive needs of construction project managers. Many such tools loosely follow the PERT model and always include the previously mentioned four elements.
Smaller projects, like constructing a single-spec home, can be managed with more general project timeline tools rather than industry-specific options.
Bottom Line
A well-structured project timeline is essential for ensuring the smooth execution of any project. It provides a clear roadmap that helps teams stay organized, manage resources efficiently, and meet deadlines. A project timeline helps prevent delays, improve communication, and ensure accountability by breaking down tasks, setting milestones, and allowing for adjustments.
A carefully planned and managed timeline is the backbone of project success. It keeps teams aligned with their goals and delivers results on time and within budget.
Similar Articles
- A Definitive Guide to Project Management for Marketing Agencies: Best Software and Methods
- MARKETING PROJECT MANAGEMENT: Unveiling Insider Tips and Strategies for Success
- Step-by-Step Guide to Creating Effective Marketing Videos in 2024