Adding social media buttons to your email signature is a simple yet highly effective way to increase your online visibility and promote your personal or business brand with every email you send. It’s beyond formality; consider it a valuable piece that often goes overlooked.
Having helped countless businesses optimize their branding strategies and seen firsthand how a well-crafted email signature can drive engagement while building meaningful connections, let me walk you through the step-by-step process of integrating social media buttons into your email signature and maximizing its impact.
Key Points
- Adding social media buttons to your email signature is an effortless way for your contacts to follow you, share your content, or engage with your brand.
- Every email sent is an opportunity to boost your social media presence and incorporating clickable social media buttons encourages recipients to connect with you beyond the inbox.
- Email signature is a subtle but powerful way of extending a brand across multiple channels without extra effort.
- The best size for social media icons in an email signature is 24×24 pixels or 32×32 pixels.
Why You Need Social Media Buttons in Your Email Signature
Social media is at the heart of business communication and brand-building. Whether you’re a freelancer, small business owner, or corporate professional, adding social media buttons to your email signature creates an effortless way for your contacts to follow you, share your content, or engage with your brand.
Every email you send is an opportunity to boost your social media presence. Therefore, incorporating clickable social media buttons encourages recipients to connect with you beyond the inbox. In other words, it’s a subtle but powerful way to extend your brand across multiple channels without extra effort.
What is the Best Social Media Icon Size for Email Signature?
The best size for social media icons in an email signature typically ranges from 24×24 pixels to 32×32 pixels.
Where to Get Free Social Media Icons for Email Signature
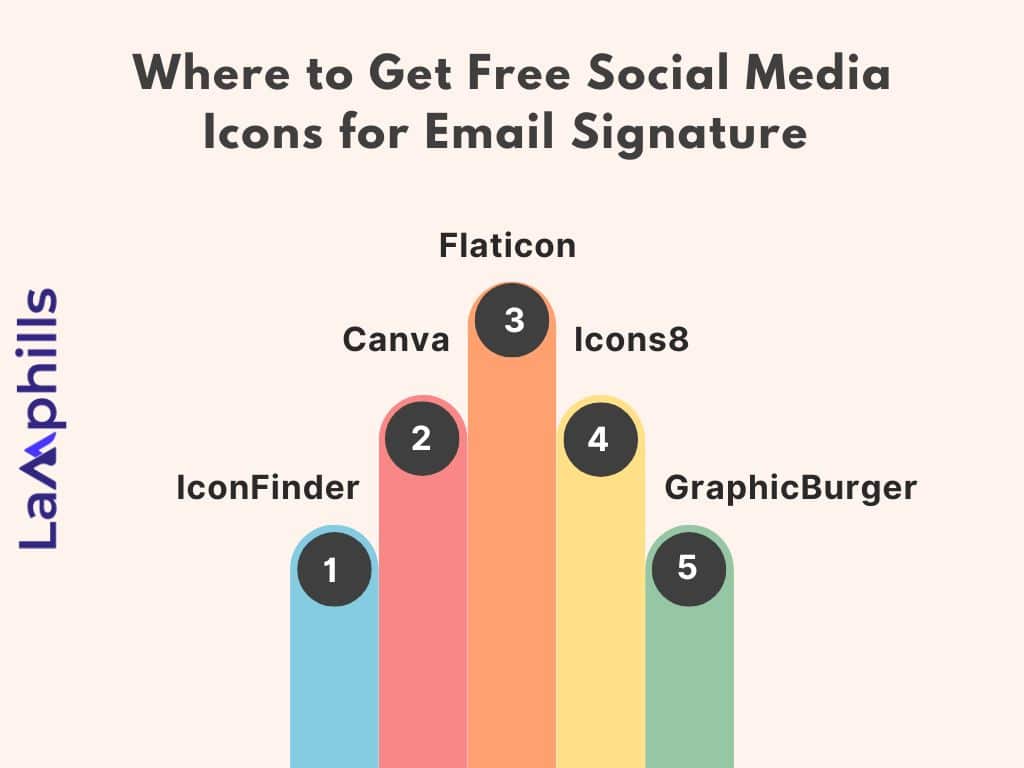
The following are some of the places where I find free social media icons and logos for my email signature; I’m sure they’ll be of help to you too:
#1. IconFinder
Website: IconFinder.com
IconFinder is a large database of free and premium icons, including social media logos. To use this, I simply go to IconFinder.com and search for specific social media logos, filter by free, and download in my preferred format (PNG, SVG).
#2. Canva
Website: Canva.com
Canva offers a variety of free social media icon templates that you can customize to match your brand. I have the Canva app on my mobile device but use the website whenever I’m beside a desktop or laptop. However, both work perfectly. I only use the website because of a broader interface. To use Canva on the website or app, I simply search for “social media icons,” customize their colors to fit my branding, and download them for free.
#3. Flaticon
Website: Flaticon.com
Flaticon offers various free social media icons in different styles and colors. I search for social media logos, filter the results to find free icons, and download them as PNG or SVG.
#4. Icons8
Website: Icons8.com
Icons8.com provides a comprehensive collection of free social media icons that you can use in email signatures. Simply browse their free icons section and select the format and size suitable for your email signature.
#5. GraphicBurger
Website: GraphicBurger.com
GraphicBurger offers free social media icon packs that are stylish and customizable. To use this, I download icon sets in multiple file formats and use them directly in my email signature.
Step-by-Step Guide to Adding Social Media Buttons to Your Email Signature
Want to learn the ideal ways to add social media buttons to your email signature? Check out the following steps:
Step 1: Choose the Social Media Platforms to Highlight
Before you add anything to your email signature, identify the social media platforms most relevant to your audience. For a business, this could mean LinkedIn, Twitter, and Facebook. For personal branding, Instagram or Pinterest might be more appropriate.
From my experience, less is more. So, focus on two or three platforms that represent your brand and where you’re most active. Remember, the goal is to create a professional and clean signature, not overwhelm recipients with too many icons.
Step 2: Download or Create Social Media Icons
Now that you’ve chosen your platforms, you’ll need visually appealing icons to represent them. Numerous websites offer free, customizable social media icons, such as IconFinder or Canva. However, if you’re particular about maintaining brand consistency, I recommend designing icons that matches your brand’s color palette and style. This gives a polished, cohesive look to your signature.
From my experience, keeping the icons in line with your brand colors makes them stand out more while ensuring they fit seamlessly within your signature design.
Step 3: Add Icons to Your Email Signature
The process of adding these icons varies depending on your email provider, so I’ll walk you through the steps for some of the most common platforms:
Gmail:
- Open Gmail and go to Settings (gear icon) > See All Settings.
- Scroll down to the Signature section.
- In the signature editor, click the Insert Image icon to upload your social media icons.
- Highlight the icon, then click the Link button and paste the URL to your social media profile.
Outlook:
- In Outlook, go to File > Options > Mail > Signatures.
- In the signature editor, click the Insert Picture button to add your icons.
- Highlight each icon and click the Hyperlink button to link to your social profile.
Apple Mail:
- Open Mail, then go to Mail > Preferences > Signatures.
- Choose your email account, and click + to create a new signature.
- Use the Insert Image option to add your icons and hyperlink them to your social media pages.
Step 4: Link Icons to Your Social Media Profiles
On no account should you add a social media icon to your email signature without the link to your handles. Always ensure you link icons you’ve added directly to your social media profiles. You want to ensure that the links are accurate, live, and easy to access. For a more professional touch, you might consider linking to a landing page that offers more than just your profile (like a portfolio or the latest content).
From my experience, using a tool like Bitly or UTM parameters to track clicks on your social icons can provide valuable insights into how effective your email signature is at driving social media engagement. By monitoring this, you can adjust your strategy based on what’s working best.
Step 5: Test Your New Email Signature
Once you’ve created your signature, don’t forget to test it. Send a test email to yourself and a few colleagues to ensure everything looks correct and functions as expected. Check how the signature displays on desktop and mobile devices, as some email clients can distort the appearance of icons or misalign images.
I’ve found that testing on multiple devices and email clients is essential. A signature that looks perfect on Gmail might display differently on Outlook or mobile, so it’s worth taking the extra step to ensure a consistent and professional appearance.
Pro Tips to Make the Most of Social Media Buttons in Signature
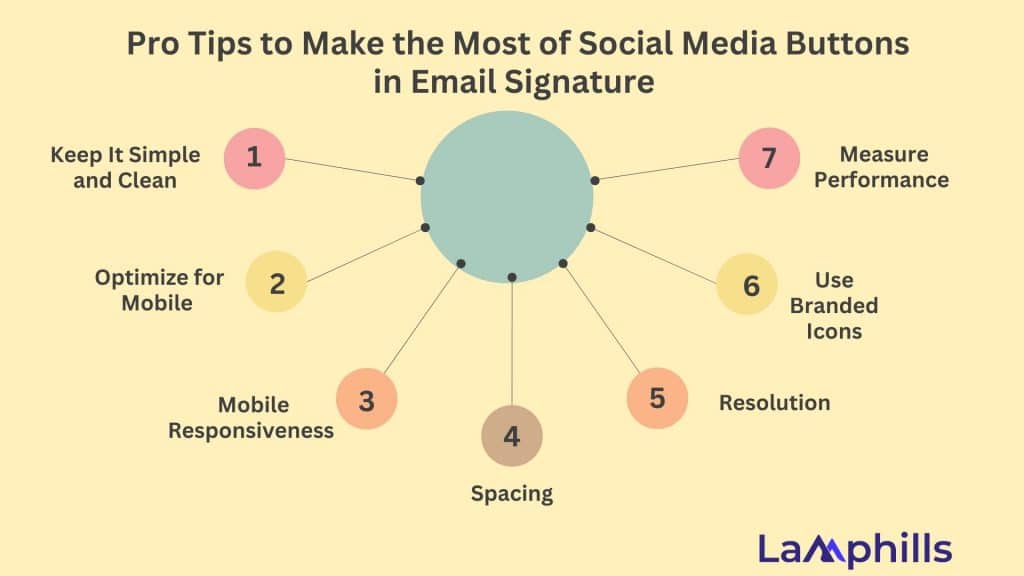
#1. Keep It Simple and Clean
Avoid overloading your email signature with too many icons. Two to three relevant social media buttons are ideal for maintaining a sleek and professional look.
#2. Optimize for Mobile
Make sure the icons are mobile-friendly and easy to click on smaller screens. Presently, most emails are opened on mobile devices, so ensure it’s optimized for mobile.
#3. Mobile Responsiveness
Ensure the icons are large enough to be clicked easily on mobile devices. Anything smaller than 24×24 pixels might be hard to interact with on touch screens.
#4. Spacing
Ensure there’s enough space between the icons so they don’t look cluttered. Typically, a gap of 8 to 12 pixels between icons works well.
#5. Resolution
Use high-resolution icons (SVG or PNG) to maintain clarity across different devices and screen sizes.
#6. Use Branded Icons
If possible, use custom-designed icons that reflect your brand’s aesthetic. This subtle detail can enhance your branding efforts and make your emails more cohesive.
#7. Measure Performance
Incorporate tracking URLs to see how often recipients click your social media buttons. This data can help you gauge the effectiveness of your email signature and make improvements as needed.
How Do I Add Social Media Buttons to My Gmail Signature?
Adding social media buttons to your Gmail signature allows recipients to easily find and follow your social media profiles. Below is how I add these buttons to my email signature:
Step 1: Prepare the Social Media Icons
Get your social media icons ready with the following steps:
- Download Icons: Get the social media buttons (icons) that you want to use. You can find free icons from websites like IconFinder, Flaticon, or Icons8.
- Customize: Ensure the icons are the correct size (24×24 or 32×32 pixels). You can use design tools like Canva or Photoshop to customize the icon colors or shapes.
- Save the icons to your computer.
Step 2: Open Gmail Settings
Next, open Gmail in your web browser and click the Settings icon (gear icon) in the top-right corner. Afterward, click on See all settings from the drop-down menu.
Step 3: Access the Signature Settings
On the settings page, scroll down to the Signature section under the General tab. Alternatively, you can click on Create New to make one if you don’t have a signature.
Step 4: Insert the Social Media Buttons
Next, place your cursor where you want to insert the social media icons and click the Insert Image icon in the toolbar above the signature box. In the image upload window, click Upload and select a file from your device. Afterwards, choose the social media icon you want to add and it will appear in your signature.
Step 5: Add a Hyperlink to the Icons
- Click on the icon in the signature box to select it.
- Click the Link icon (it looks like a chain link) in the toolbar.
- In the Web address field, enter the URL for your social media profile (e.g., https://www.twitter.com/yourusername).
- Click OK.
Step 6: Repeat for Other Social Media Icons
Repeat Steps 4 and 5 to add additional social media buttons (like Facebook, LinkedIn, Instagram, etc.) to your signature.
Step 7: Save Your Signature
To save your new signature, kindly scroll to the bottom of the settings page and click on save changes. Once this is done, your social media icons will be included in your email signature.
Lamphills Email Signature Social Media Button Checklist
This checklist ensures you cover the necessary steps when adding social media buttons to your email signatures.
Download Lamphills Email Signature Social Media Button Checklist
How Do I Add Social Media Buttons to My Outlook Signature?
Below is how I add social media buttons to my Outlook email signature:
#1. For Outlook Desktop (Windows/Mac)
Download or design the social media buttons from sites like IconFinder or Flaticon, ensuring they are an appropriate size for email (24×24 or 32×32 pixels).
Step 1: Open Outlook and Access Signature Settings
- Open Outlook on your desktop.
- Click File in the top left corner.
- Select Options from the menu.
- In the pop-up window, choose Mail from the sidebar.
- Click on Signatures to open the signature editor.
Step 2: Edit Your Signature
If you don’t have a signature, click New to create one and place your cursor where you want to insert the social media icons.
Step 3: Insert Social Media Buttons
Next, click the Insert Picture button (image icon) and browse your computer to find and select the social media icon you downloaded. This icon will appear in your signature editor.
Step 5: Add Hyperlinks to the Icons
- Click on the icon in the signature editor to select it.
- Click the Hyperlink button (look like a globe with a chain).
- In the Address field, enter the URL to your social media profile (e.g., https://www.linkedin.com/in/yourusername).
- Click OK.
Step 6: Format and Save Your Signature
Repeat the above steps for additional social media buttons like Facebook, Instagram, or Twitter. Once done, click OK to save your signature.
#2. For Outlook Web (Outlook.com)
Download the desired social media icons from sources like Flaticon or Icons8.
Step 1: Open Outlook Web Settings
- Open Outlook.com in your web browser.
- Click the Settings icon (gear) in the top-right corner.
- Scroll down and click View all Outlook settings at the bottom.
Step 2: Access Signature Settings
In the settings menu, click Mail > Compose and reply. Afterward, scroll down to the email signature section.
Step 3: Add Social Media Buttons
- Place your cursor where you want the social media buttons to appear in your signature.
- Click the Image (mountain icon) and select the social media icon from your device.
- The icon will now appear in your signature.
Step 4: Add Hyperlinks
Next, click the icon, and then click the Link button (chain link icon) to enter the URL to your social media profile and click OK.
Step 6: Save Changes
- Scroll down and click Save.
- Your signature will now appear with social media buttons in your Outlook emails.
Conclusion
Adding social media buttons to your email signature is a small change that can lead to significant results. Whether you want to grow your social media following, promote your brand, or increase engagement with your content, a well-designed email signature can help you achieve those goals. So, take a few minutes to update your signature, and you’ll turn every email you send into an opportunity to connect and engage. As someone who’s worked with hundreds of businesses on building their digital presence, I’ve seen firsthand how this simple addition can make a lasting impact.
Related Articles
- How to Use Snapchat Ads Manager: Tips and Best Practices
- How I Use Hashtags on TikTok to Get More Views and Go Viral ( +Best Hashtags for TikTok)
- How to Remove the TikTok Watermark: A Step-by-Step Guide
- 11 Best AI Content Creation Tools to Use in 2024 (Free + Paid)