Have you ever watched a Facebook Reel and wondered, “How do they make it look fun and easy?” I had the same thought recently. So, I decided to make one myself. Using just a few taps, I created a Reel from my beach trip, adding music and pictures. It was so simple, and I realized anyone could do it! In this article, I’ll show you how to create a Reel on Facebook, whether you want to add music or use pictures.
Ready to start making your excellent Reels? Let’s get started!
Key Points
- Reels are short videos that can include music, sounds, AR effects, and more and appear in your Feed and Video section. They can be created by recording new clips or using existing videos and photos.
- Start by recording or adding video clips up to 90 seconds. Open the Reels icon from your Feed, select “Create,” and record new clips or add videos/photos from your phone.
- Edit your clips by adding music, text, or stickers. Save drafts if needed and finalize your edits before sharing.
- Add a description, choose your audience (Public, Friends, Friends…), and decide whether to share on Instagram or enable remixing. Tap “Share now” to publish.
- Utilize features like setting video length, adjusting speed, adding effects, and using a green screen. Access Reel settings via the three dots in the bottom right, and set your Reel length to 15, 30, or 90 seconds.
What are Reels on Facebook?

Credit: Freepik
Reels on Facebook are short videos that can include music, sounds, AR effects, and more. You can also watch public Reels from Instagram if the creator shares them on Facebook. Reels are shown to you based on what you might like and can appear in your Feed and in the Video section.
A reel is made of one or more video clips. You can create a reel by recording clips with the Facebook app or using videos and photos you already have. After adding your clips, you edit them, add effects if you want, and then share the finished reel.
Steps to Create Reel on Facebook

Credit: Freepik
Step 1: Recording or Choosing Video Clips
You can add as many video clips as you want, up to 90 seconds. As you add clips, a red bar at the top of the screen shows how long you’ve used it.
Start Your Reel
- From your Feed, tap the Reels icon.
- Tap “See More,” then “Reels.”
- Tap “Create.”
You can start by recording new clips or adding videos or photos from your phone. While editing, you can add more clips. Record or add videos.
Step 2: Editing Your Reel
After adding clips, you can edit them and add music, text, or stickers in any order you like.
- Save a draft: If you need to pause, save a draft to continue later.
- Edit clips & add music, stickers, or text. When done editing, tap “Next.”
Step 3: Sharing Your Reel
When your reel is ready, you can add details and choose who can see it.
Add a description: Tap “Describe your reel” to add a description or hashtags. Hashtags help others find your reel.
Choose your audience
- Tap your currently selected audience to change it.
- Tap “More Options,” then “See More” if needed.
Audience options
- Public: Anyone, including non-Facebook users, can see your reel.
- Friends: Only your friends can see it.
- Friends except…: Friends except those you choose can see it.
- Share to Instagram: Toggle to share your reel to Instagram if your accounts are linked.
- Enable or disable remixing: Toggle this option as needed.
- Tap “Share now” to publish your reel.
Note: Public reels can be remixed, and others may use their original audio in their reels on Facebook.
How to Create a Reel on Facebook
Here is how you can Create a Facebook Reel
- Open Facebook: Make sure you have the latest version of the app.
- Start Creating:
- Tap “Create” in the Reels section on your Feed, or
- Tap the camera icon in the top right corner when viewing a reel.
- Add Video to Your Reel:
- Tap the Record button to add new video clips.
- Tap the photo icon in the lower left corner to add video clips you already have.
- Customize Your Reel:
- Tap the icons on the right side of your screen to add audio, text, effects, captions, or a timer.
- When you’re done, tap Next.
- Describe Your Reel: Write a description for your reel.
- Choose Your Audience: Decide who can see your reel. Remember that reels are public by default, and reels from business or creator pages can only be posted publicly.
- Share Your Reel: Tap “Share Reel” to publish it.
How to Create a Reel on Facebook With Music
Creating a Facebook reel with music and pictures is easy and fun! Here are ways to create a reel on Facebook with Music and Pictures:
Open Facebook and Start Your Reel
- Tap the Reels icon to open the Reels camera.
- Select “Create” to start a new reel.
Add Video Clips or Photos
- You can record new video clips or add videos and photos from your phone’s gallery.
- Reels can consist of multiple clips, which can be combined for 90 seconds.
- As you add clips, a red bar at the top of the screen shows how long you’ve used it.
Set the Video Length
- Tap “Length” on the right-hand side and choose between 15, 30, or 90 seconds for your reel.
Add Music
- Tap the Audio icon to add music.
- Browse for music by genre or theme, select a song, choose a section, and tap Done to add it to your reel.
- If your reel has the original audio set to Public, others can use it in their reels.
Adjust Video Speed
- Tap “Speed” to set the desired speed for your video. You can also adjust the speed during editing.
Add Effects
- Tap the Effects icon to browse and apply various effects to your reel.
- You can save effects for later use by tapping the effects attribution link at the bottom of a reel you’re viewing.
Crop and Zoom
Select a clip, tap Crop, and use one finger to adjust the position or two fingers to scale the clip.
Set a Timer
The timer gives you countdown options of 3 or 10 seconds before recording. You can also set the recording length up to 60 seconds.
Use Green Screen
Tap “Green screen” to choose a background from pre-uploaded scenes or your camera roll.
Final Edits and Customizations
- Audio: Add or edit music or add a voiceover.
- Text: Tap the Text icon to add and customize text.
- Edit Clips: Trim the length of your videos or add more clips.
- Mirror: Horizontally flip clips using the Mirror option.
- Captions: Transcribe audio to add captions and customize their font and color.
- Stickers: Add stickers, GIFs, or emojis by tapping on Stickers.
Describe and Share Your Reel
- Tap “Describe your reel” to add a description and hashtags.
- You can select your audience by tapping on your current audience setting. Options include Public, Friends, and Friends except…
- Toggle options to share your reel to Instagram and enable or disable remixing.
- Tap “Share now” to publish your reel.
With these simple steps, you can create engaging reels on Facebook with music and pictures and share them with your audience!
Read: Creating Engaging Content on Facebook Reels: Best Practices and Tips
How Do You Make a Slideshow Reel on Facebook?
Creating a Facebook slideshow is a great way to engage your audience. Whether you’re showcasing products, telling a story, or teasing a new product, here’s how to do it:
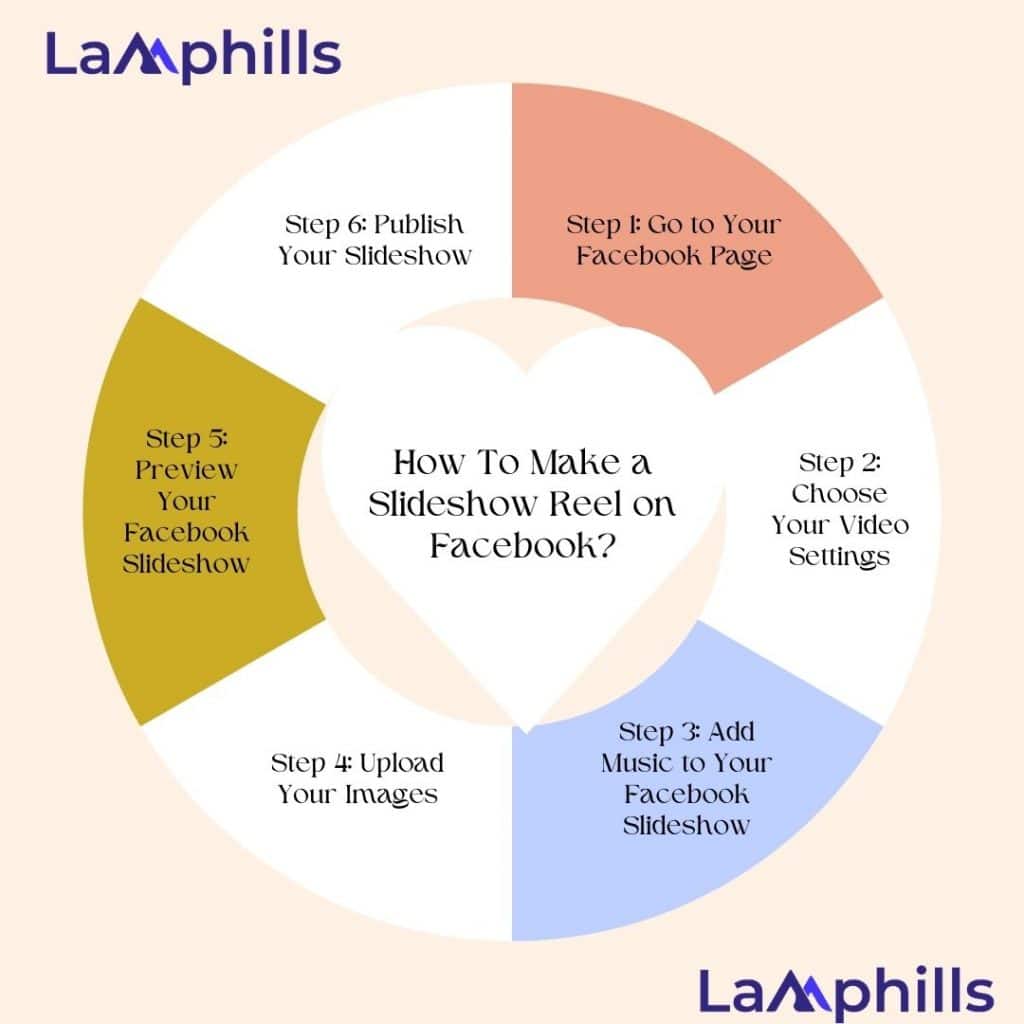
Step 1: Go to Your Facebook Page
Creating a Facebook Slideshow is super easy. Log in to Facebook on your desktop (you can’t create slideshows on the app), go to your FB page, and in the status update section, click “Photo/Video” and select “Create a Slideshow.”
Step 2: Choose Your Video Settings
After selecting “Create a Slideshow,” a settings tab will appear. Here’s what each setting means:
- Aspect Ratio: The size of your video (Square, Rectangle, Vertical).
- Image Duration: How long each image stays on the screen.
- Transition: Add a fading effect to your images or have no transition.
Step 3: Add Music to Your Facebook Slideshow
In the Settings window, go to the Music tab. Facebook offers royalty-free music, or you can upload your own. Music categories include Energetic, Inspirational, Fun, Trustworthy, and Modern.
Step 4: Upload Your Images
Add at least three and up to ten images by clicking “Add Photos.” Select images from your desktop or timeline, or take a new photo with your webcam. Upload photos in the order you want them to appear, as you can’t rearrange them later.
Step 5: Preview Your Facebook Slideshow
Click the play button to preview your slideshow. Adjust the music, image duration, and other settings as needed. Remember, you can’t edit the slideshow after publishing, so take your time to perfect it.
Step 6: Publish Your Slideshow
Once you’re happy with your slideshow, click “Create Slideshow”. Fill in the title and description for your video. Make it compelling to encourage viewers to watch. Hit “Publish” to go live!
If you want to use your video on Instagram or your website, click the three dots at the top of the post to download or embed the slideshow.
And that’s it! Your Facebook Slideshow is now live and ready to engage your audience.
Let me make it easy for you with this comprehensive checklist, which will guide you through the process from start to finish!
Where Are Reel Settings on Facebook?
To get your reel setting on Facebook
- Tap the 3 dots in the bottom right.
- Tap Settings & privacy, then tap Settings.
- Tap Media below Preferences.
- Below, automatically post short videos as reels and tap your selection.
Read: How to Get Followers on Facebook: A Guide to Building Your Business Facebook Page from Scratch
How Long Can Facebook Reels Be?
Reels can be up to 90 seconds long. Here’s how to set it up:
- Tap the Reels icon to open the camera.
- On the right side, choose “Length” and set your Reel to 15, 30, or 90 seconds.
Creating Reels on Facebook is a fantastic way to engage your audience with fun, creative content. Now that you know how to create, edit, and share your Reels, it’s time to let your creativity shine.
Related Post
The Power of Short-form Content: A Guide to Maximizing Your Digital Marketing Efforts
How to Get Followers on Facebook: A Guide to Building Your Business Facebook Page from Scratch
Creating Engaging Content on Facebook Reels: Best Practices and Tips